


One of the more interesting projects I’ve been working on lately is a biometric sensing radar module. It’s a small, powerful board that can detect presence and movement through solid materials, which opens up all sorts of possibilities for smart home, security, and interactive installations. But before it can go anywhere near a real-world installation, there’s a critical step: designing a proper enclosure.
The radar module itself works by transmitting electromagnetic waves through the housing and reading the return signal. That means the enclosure isn't just about aesthetics or protection — it directly affects performance. Get the material wrong, and the signal fades. Put a piece of metal in the wrong place, and you’ve got a very expensive paperweight.
So I sat down with the module documentation and started working through the design requirements. Here’s what I learned along the way.
The Non-Negotiables
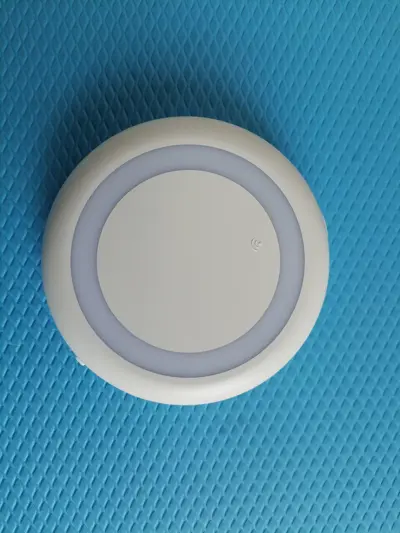
The first thing that jumped out was how specific the front face needs to be. The area directly in front of the radar antenna has to be perfectly flat, with a minimum surface area of about 40mm x 40mm. No bumps, no ridges, no decorative patterns right over the sensor. That makes sense when you think about how the waves propagate, but it definitely limits the industrial design options.
The thickness of that front face is also critical — it can’t be more than 1.2mm. The antenna itself needs to sit roughly 3mm from the inside surface of the housing. That’s a pretty tight tolerance, especially if you're 3D printing and need to account for layer lines and warping.
Material Matters
The documentation recommends ABS+PC for the front panel. More importantly, it absolutely cannot contain any metal or metallic paint. Even a thin coating will attenuate the signal and kill the radar’s range. I’m planning to test a few different filaments to see how they perform, but for now, a standard ABS+PC blend seems like the safest starting point.
Power and Connectivity
This module draws a bit of power — at least 0.8W — so I need to plan for an external power source. The design suggests a DC input, ideally 9V or 12V, to avoid voltage drop over longer cable runs. USB-C would be convenient, but the adapter would still need to step up to 9V. For the PCBA itself, it requires a stable 5V at over 500mA.
I’m also going to need a button for network configuration, and I’m considering adding optional cutouts for an infrared sensor, a 4G SIM slot, and a few status LEDs with light pipes.
Avoiding Interference
One of the trickier parts is keeping the power section physically separated from the radar module. The documentation specifically warns about electrical interference, especially if there’s any high-voltage AC involved. In a consumer-facing product, that’s something you can’t afford to get wrong.
There’s also the Wi-Fi or ZigBee module to think about. The recommendation is to keep the radar on top, close to the front surface, and place the communications module on the underside of the PCBA — that way, they don’t crowd each other and cause dropouts.
Mounting Options
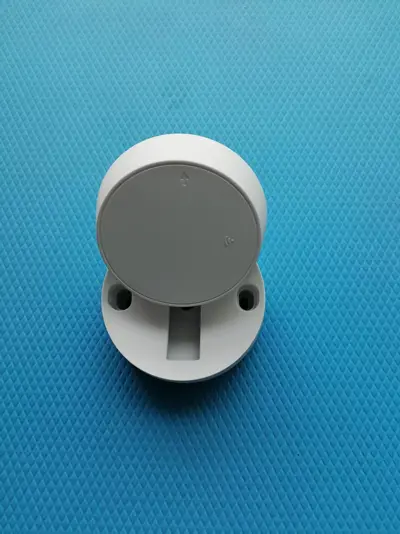
The application note shows several mounting styles: top-mounted flush, ceiling mounted, angled, and even a standard 86mm wall-box form factor. I’m leaning toward a design that supports both flat and angled installation, since that gives the most flexibility for different rooms and use cases.
The last bit of advice in the document stuck with me: the enclosure shouldn’t be too big or conspicuous. Radar-based presence sensors are useful precisely because they don’t look like cameras — they don’t raise the same privacy concerns. Keeping the design subtle and unobtrusive is actually a feature, not an afterthought.
Next Steps
I’m currently modeling the first prototype in CAD and will be doing some test prints over the next few days. If the material holds up and the antenna range stays consistent, I’ll move forward with a small production batch.
This is one of those projects where the electronics are the fun part, but the enclosure is what makes it a real product. I’ll post updates as I go — and if you’ve worked on radar or millimeter-wave sensor enclosures before, I’d love to hear what materials and techniques worked for you.
0 Comments
Sign in to leave a comment.